Getting Started
While developing and deploying dApps on Celo, it’s helpful to have a wallet prepared with funds to pay for any transactions you make on the blockchain. These can be set up using either real or test funds, and this allows application developers and users to interact with Celo applications more easily.Download a Wallet
When deploying a dApp, you will need to pay for transactions that write data to the Celo blockchain. This is done using a wallet funded with Celo on your preferred network.- Download MetaMask for your browser
- If using MetaMask, Connect MetaMask to Celo (video) to access Celo network options from your wallet
Create your Account
You are now able to fund an account that you can access using your browser extension wallet. You can do this using accounts you create with the wallet or from the Celo CLI.Using a wallet
MetaMask allows you to easily create and manage accounts. This provides you with a quick way to create and fund an account to use when interacting with your dApp.- From your MetaMask extension, select Celo (Sepolia Tesnet)
- Choose wallet Settings, select Create Account, name your account, and select Create
- View your account details and copy your account address from the top center of the user interface
Using Celo CLI
Installcelocli by running
Create an Account
Import Account to Wallet (for Options 2 & 3)
If you created an account using option 2 or 3, you can now import these accounts to your wallet.- Open your wallet browser extension from your browser
- Select Settings > Import Account
- Copy the private key from your local account, paste it into the window provided, and select Import
Fund your Account
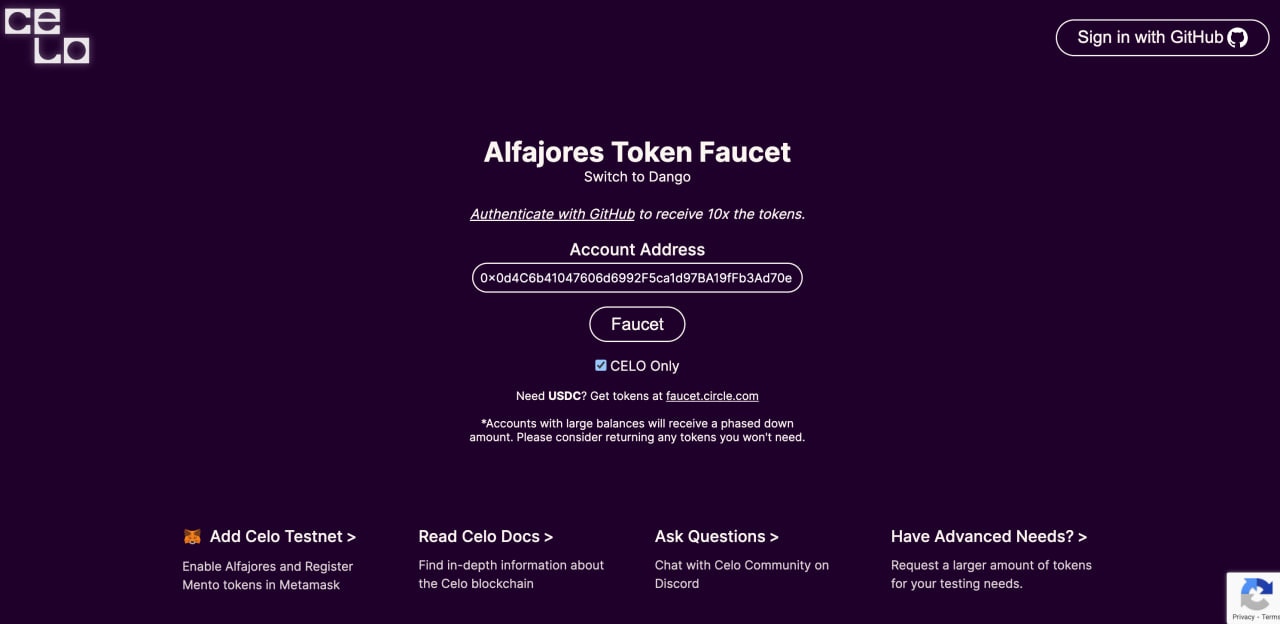
No matter where you created your accounts, you can send them testnet funds using your Account Address and the testnet faucet.- Navigate to the Celo Sepolia Faucet
- Copy your address from your terminal or wallet
- Paste this address into the Testnet Faucet, complete the Captcha, and click Get Started